How to test a USB Type C cable
Equipement needed:
- Ruler.
- Electronic caliper.
- Magnifier
- Total Phase Advanced Cable Tester v2
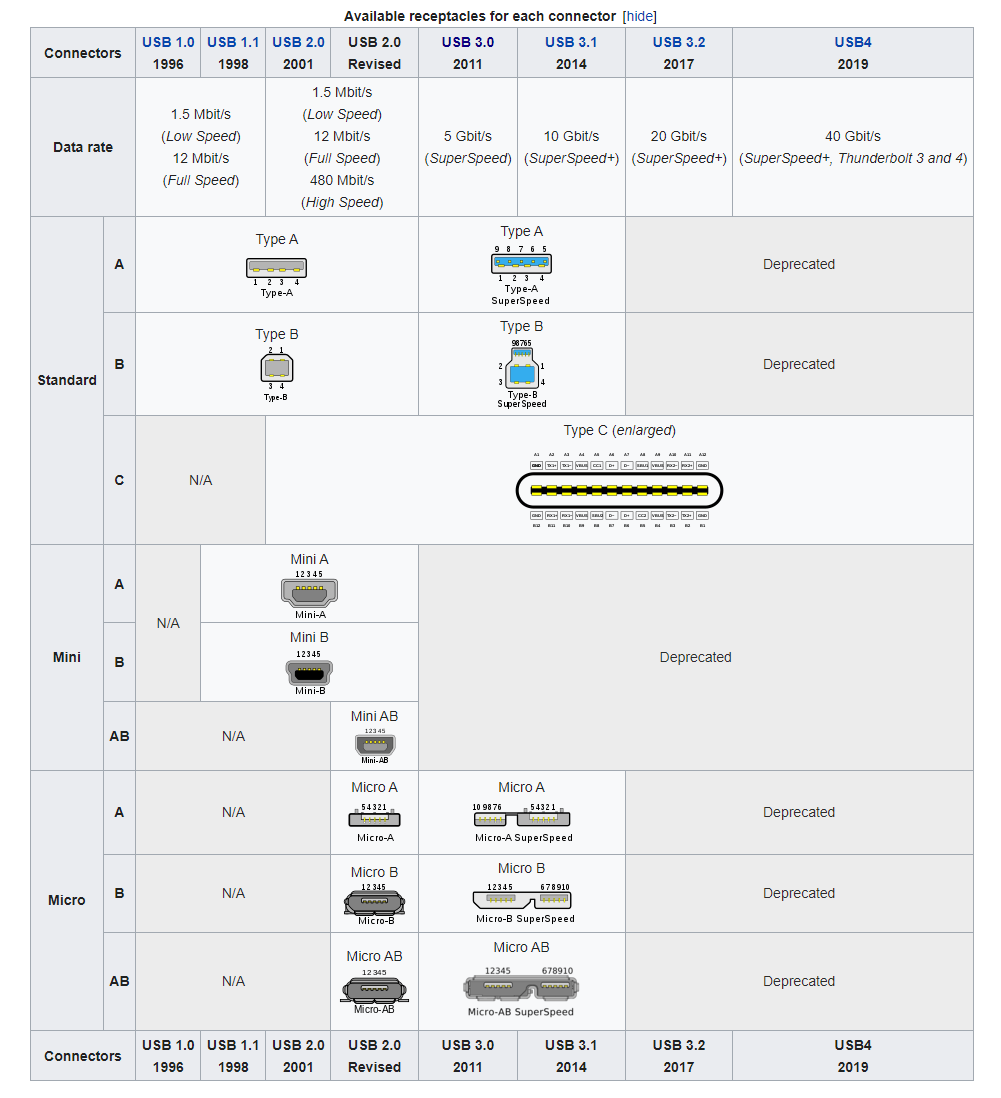
A USB Type C cable can support USB 2.0, USB 3.X, USB 4 specifications as indicated below
Step 1: Check connectors
Make sure:
-
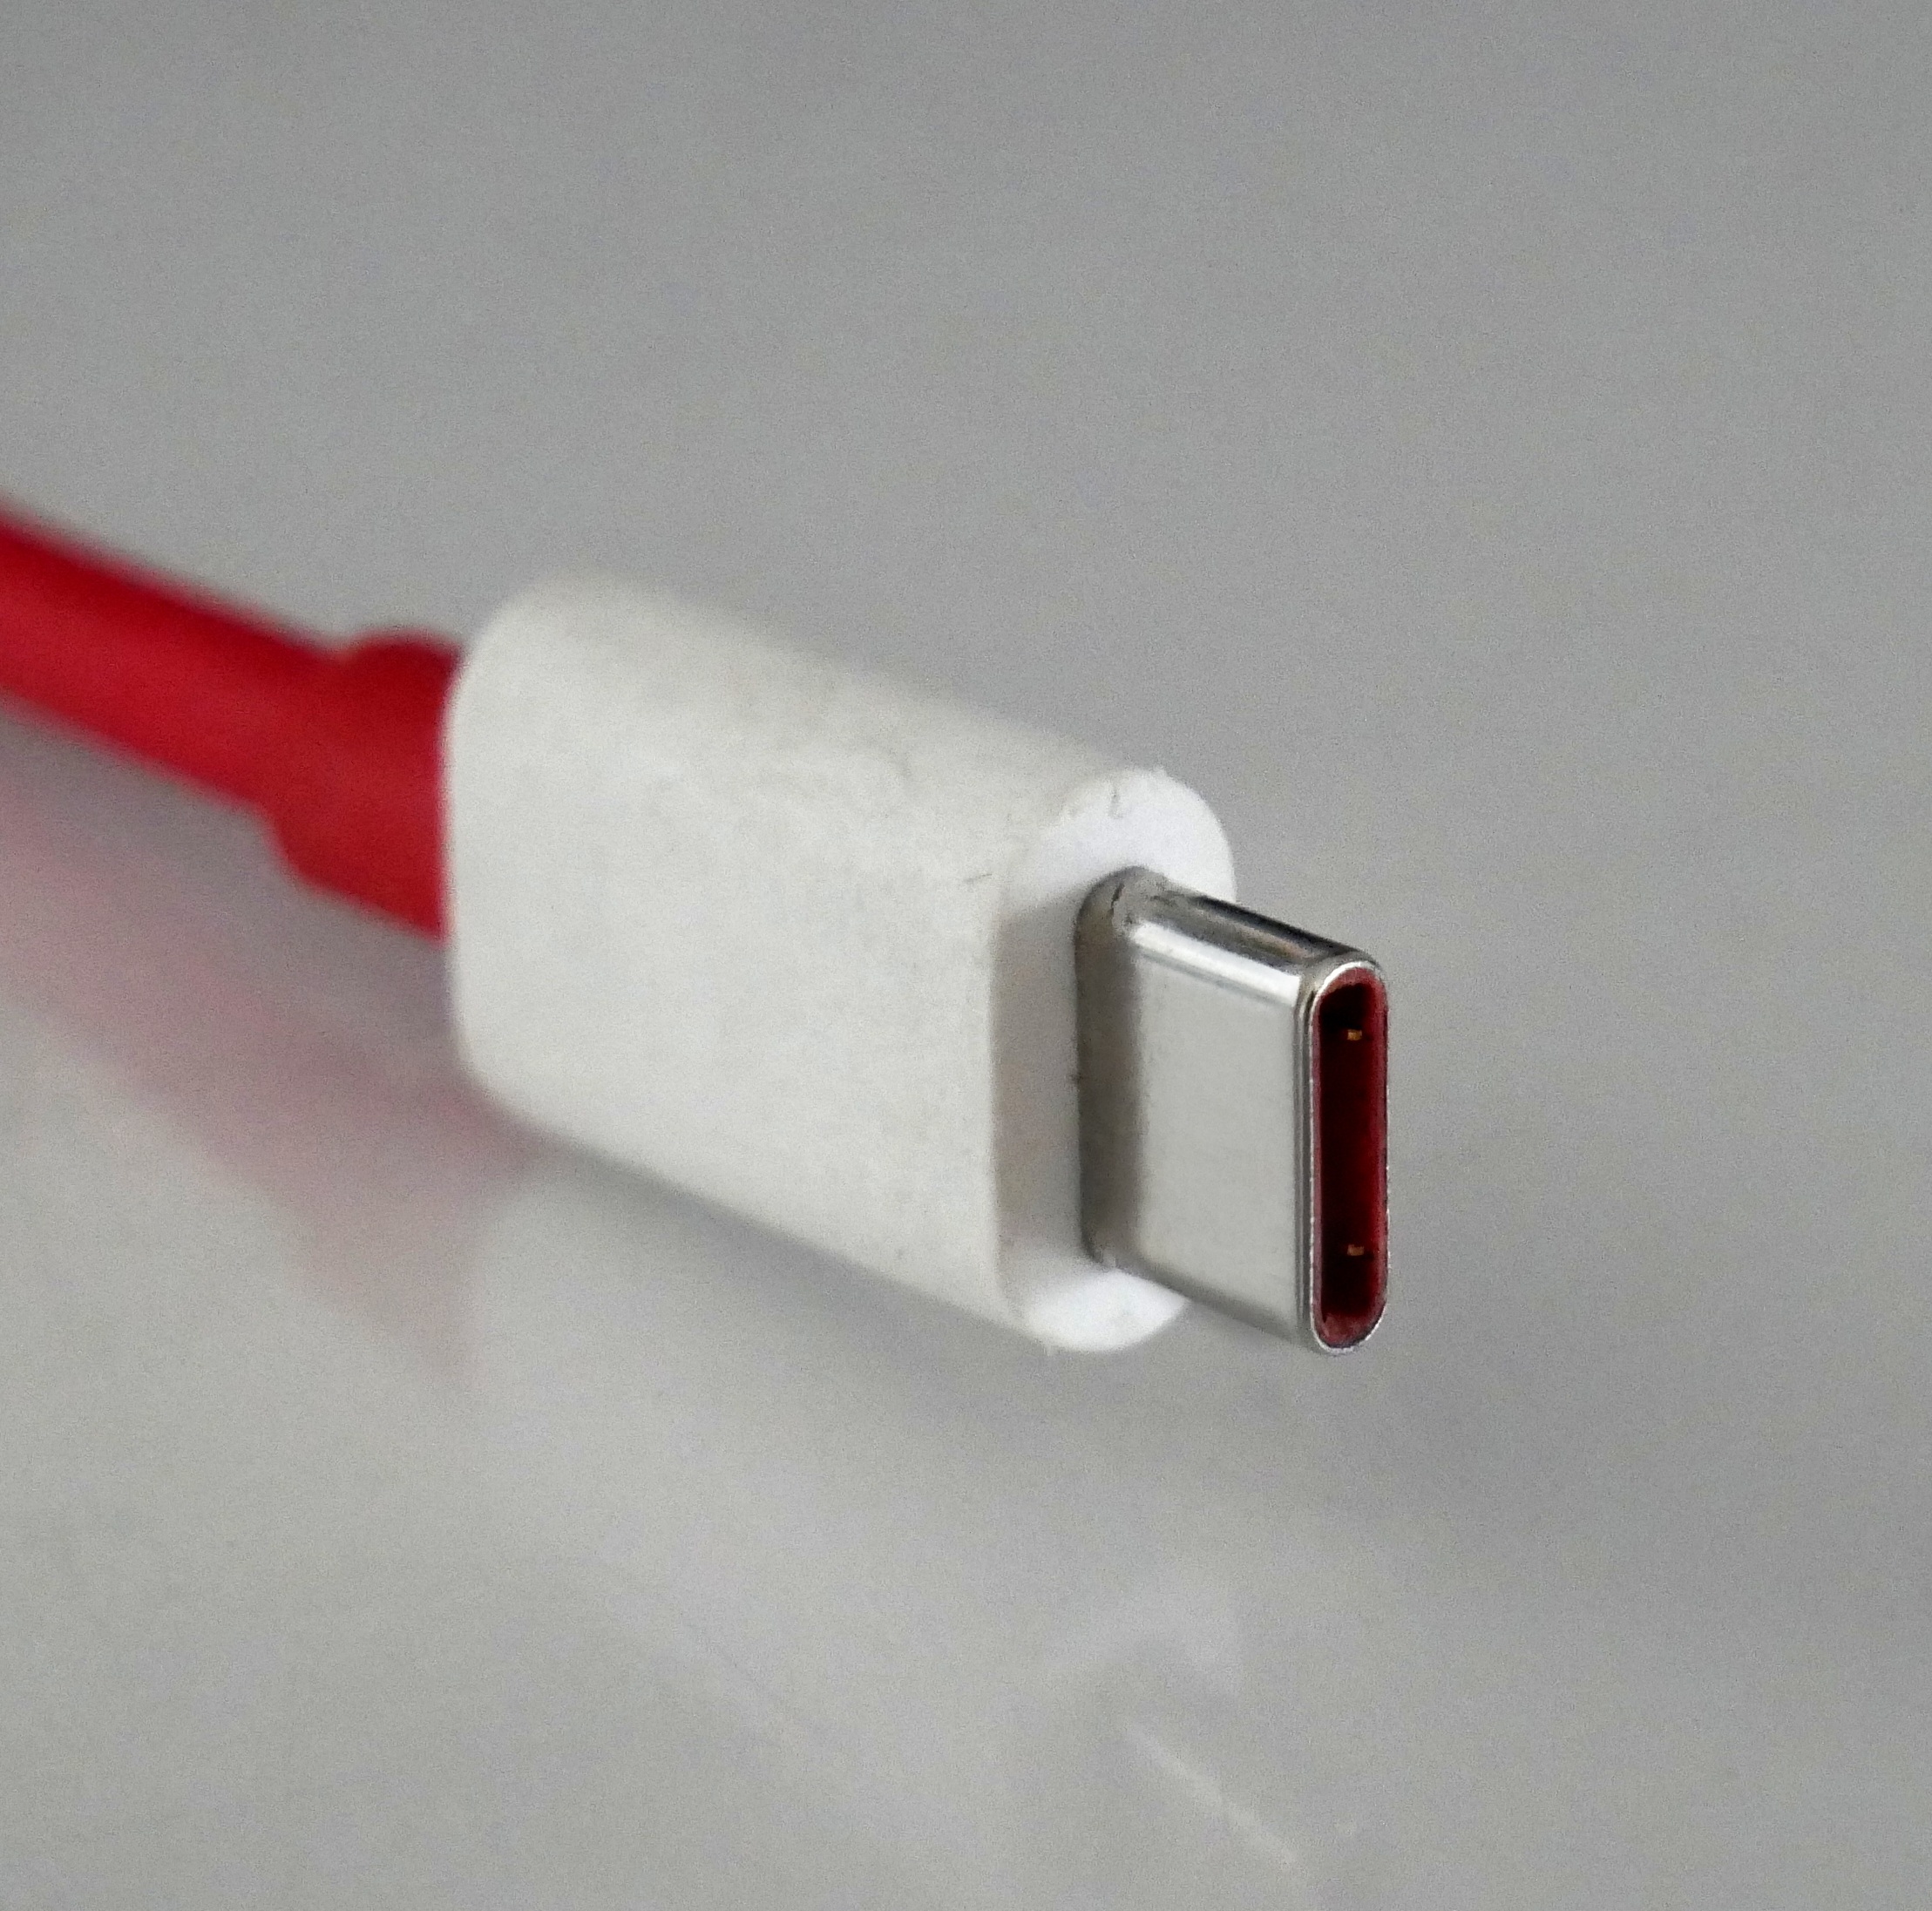
Connector 1 is Type C.
-
Connector 2 is either:
- Type C
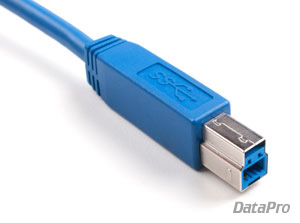
- Standard Type B SuperSpeed
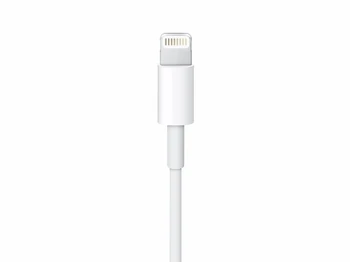
- Lightning
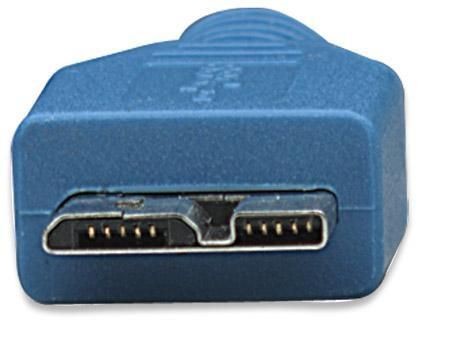
- Micro B Superspeed
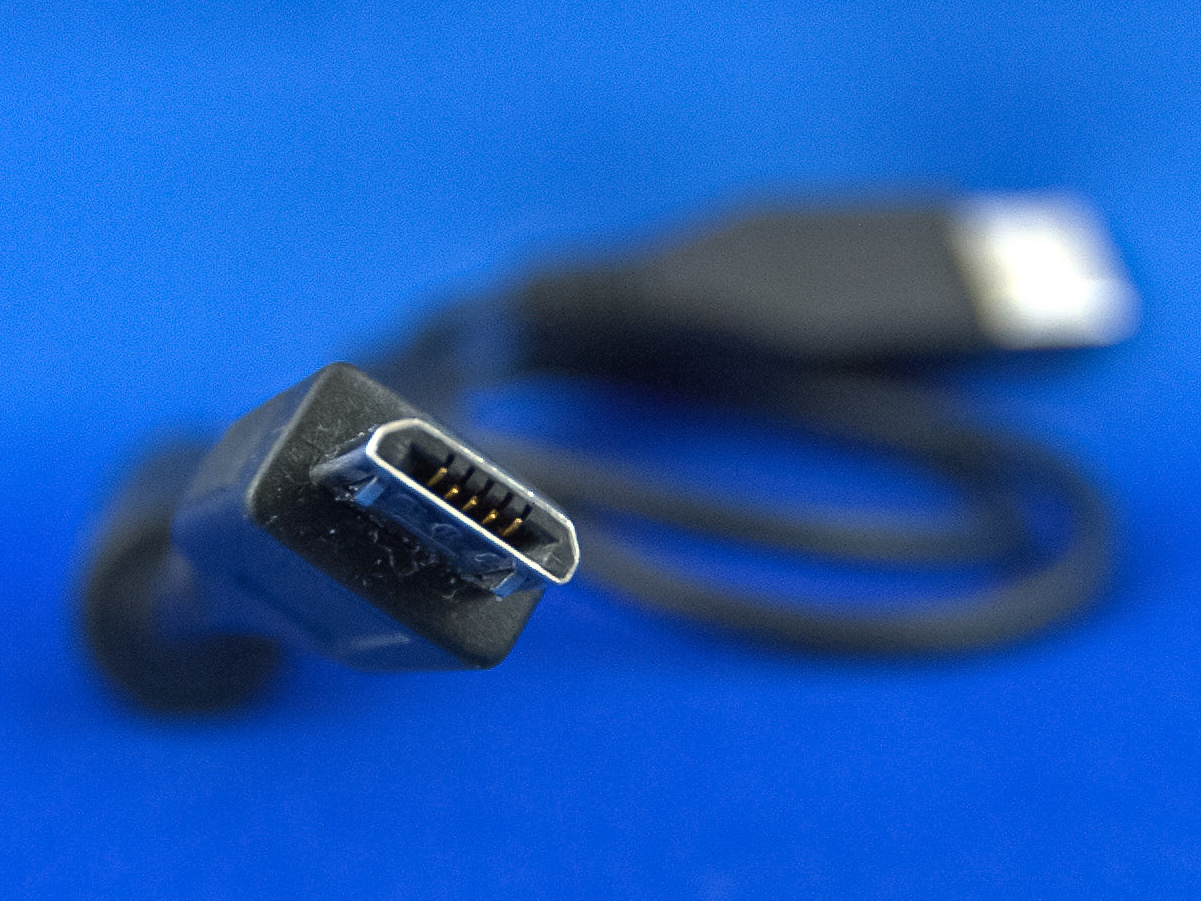
- Micro B
| Connector 1 | Connector 2 | Module name | Module image |
|---|---|---|---|
| Type C | Type C | USB Type-C to USB Type-C module | 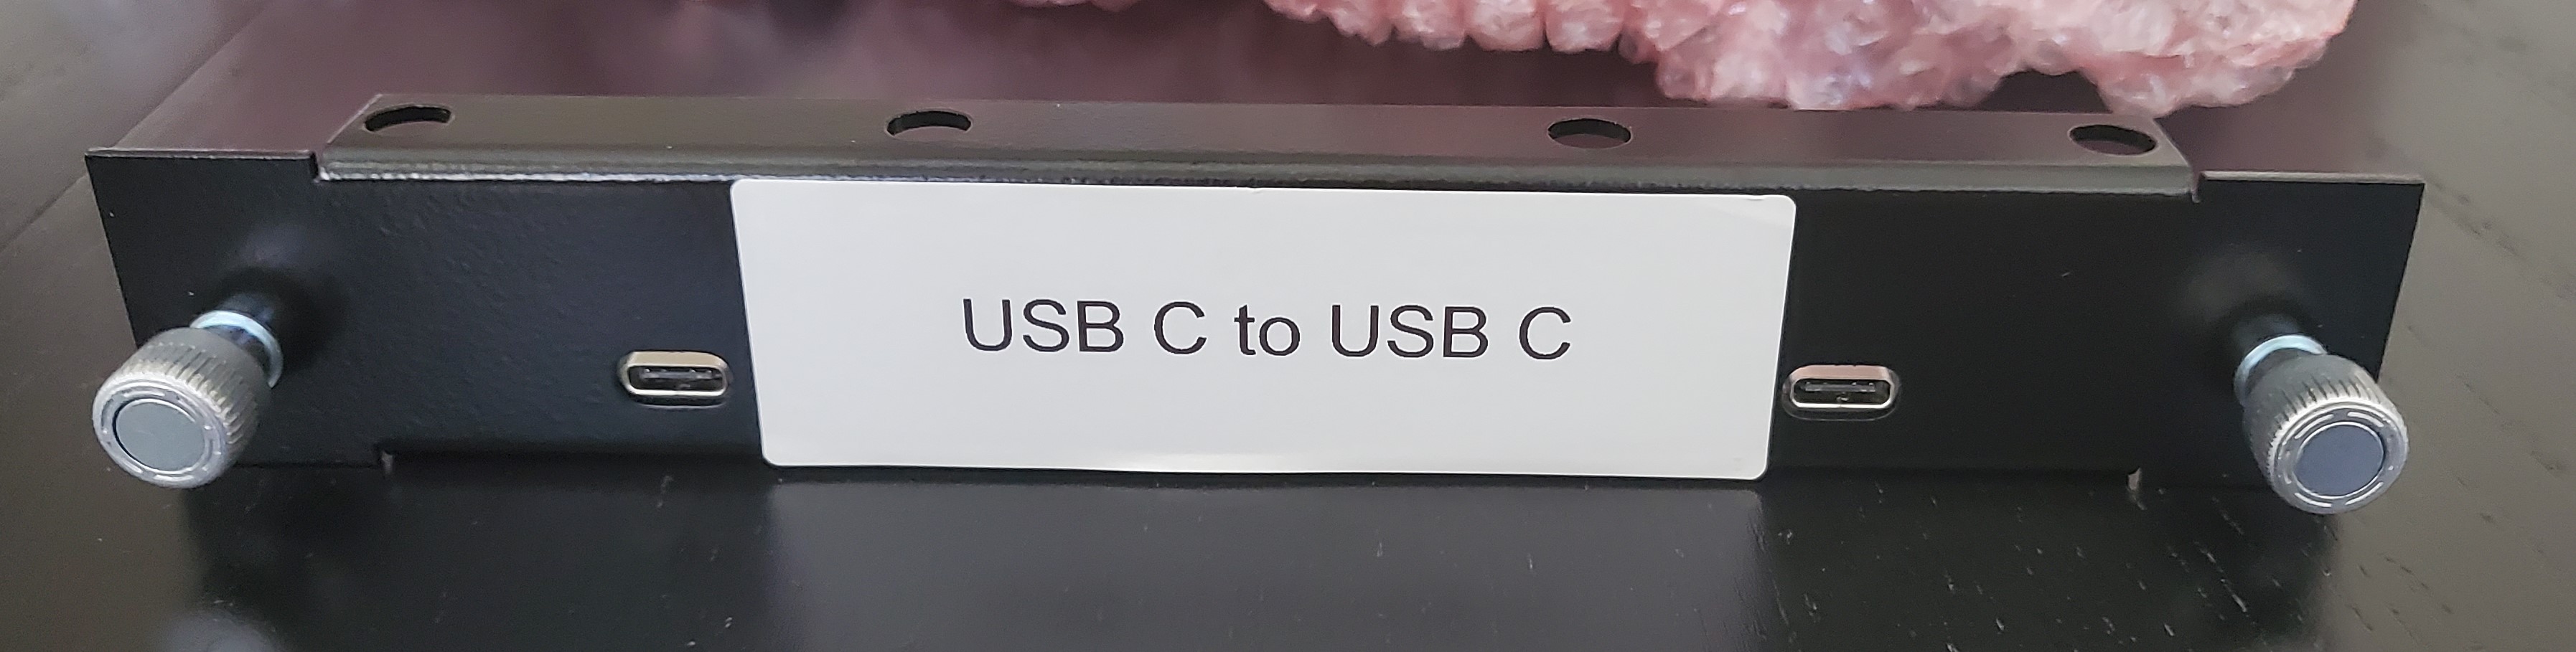 |
| Type C | Lightning | USB Type-C to Lightning | 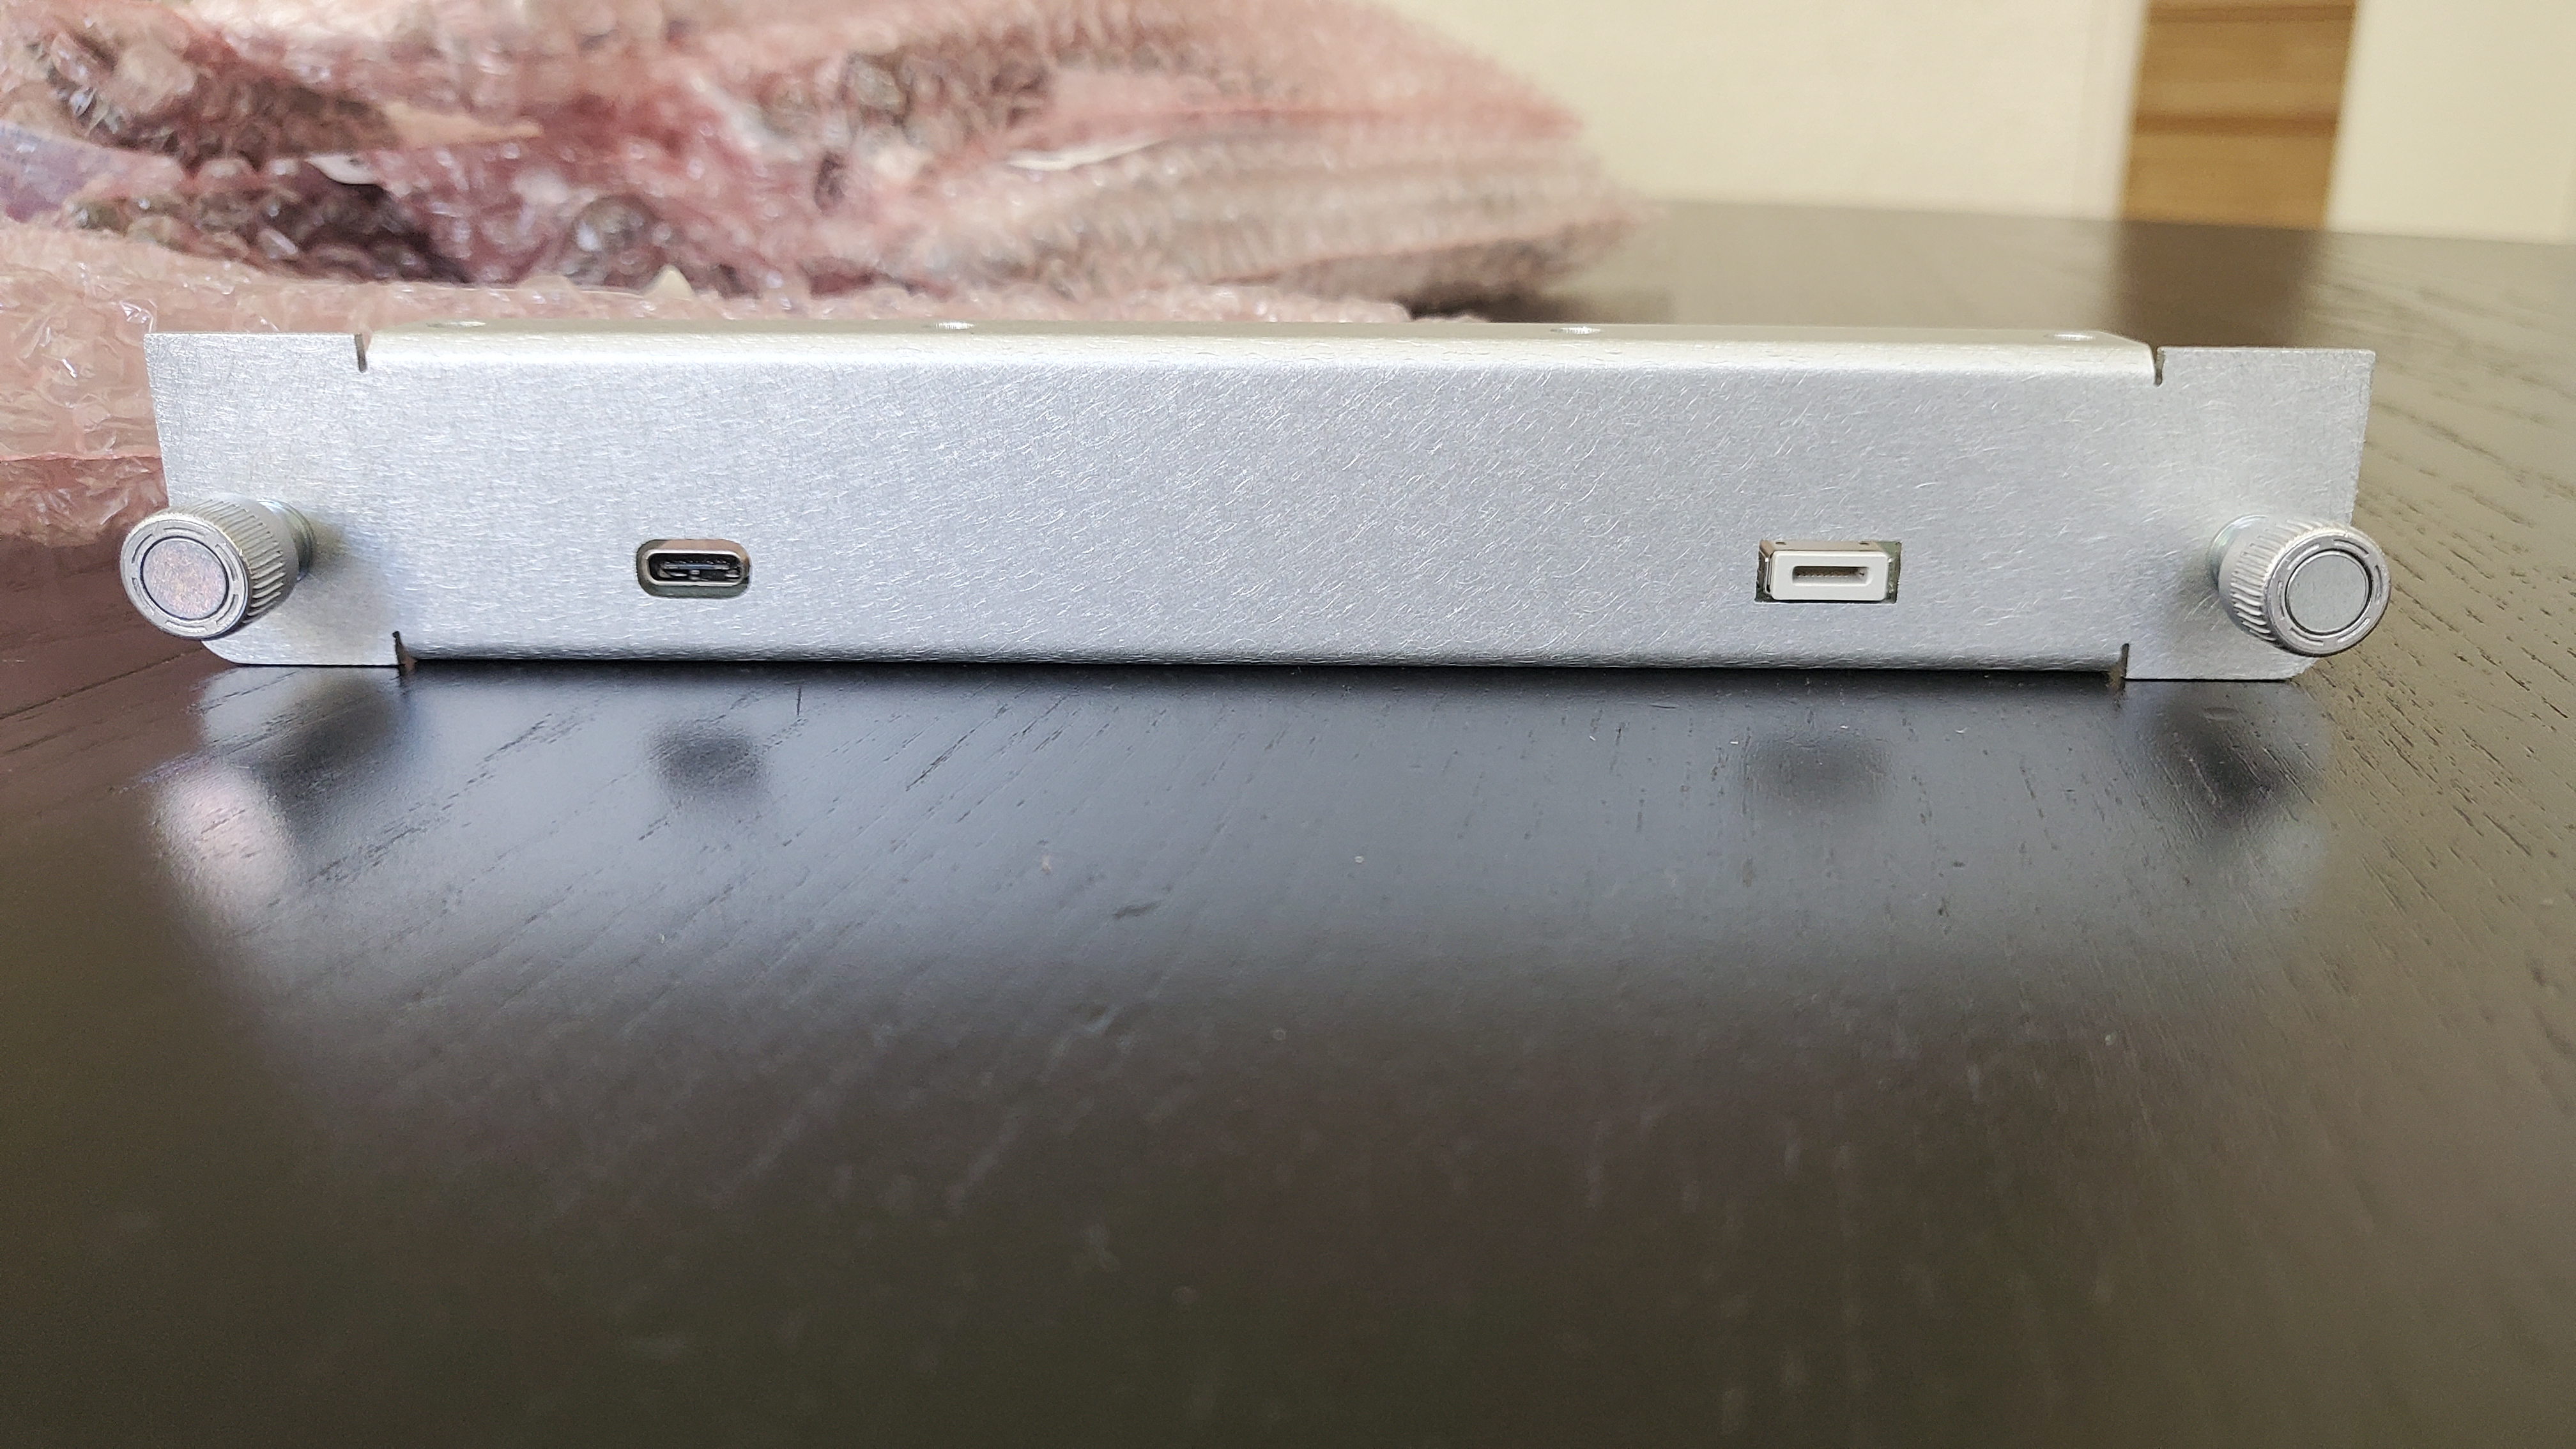 |
| Type C | Standard B Superspeed | USB Type-C to USB 3.1 Standard B |  |
| Type C | Micro B Superspeed | USB Type-C to USB 3.1 Micro-B | 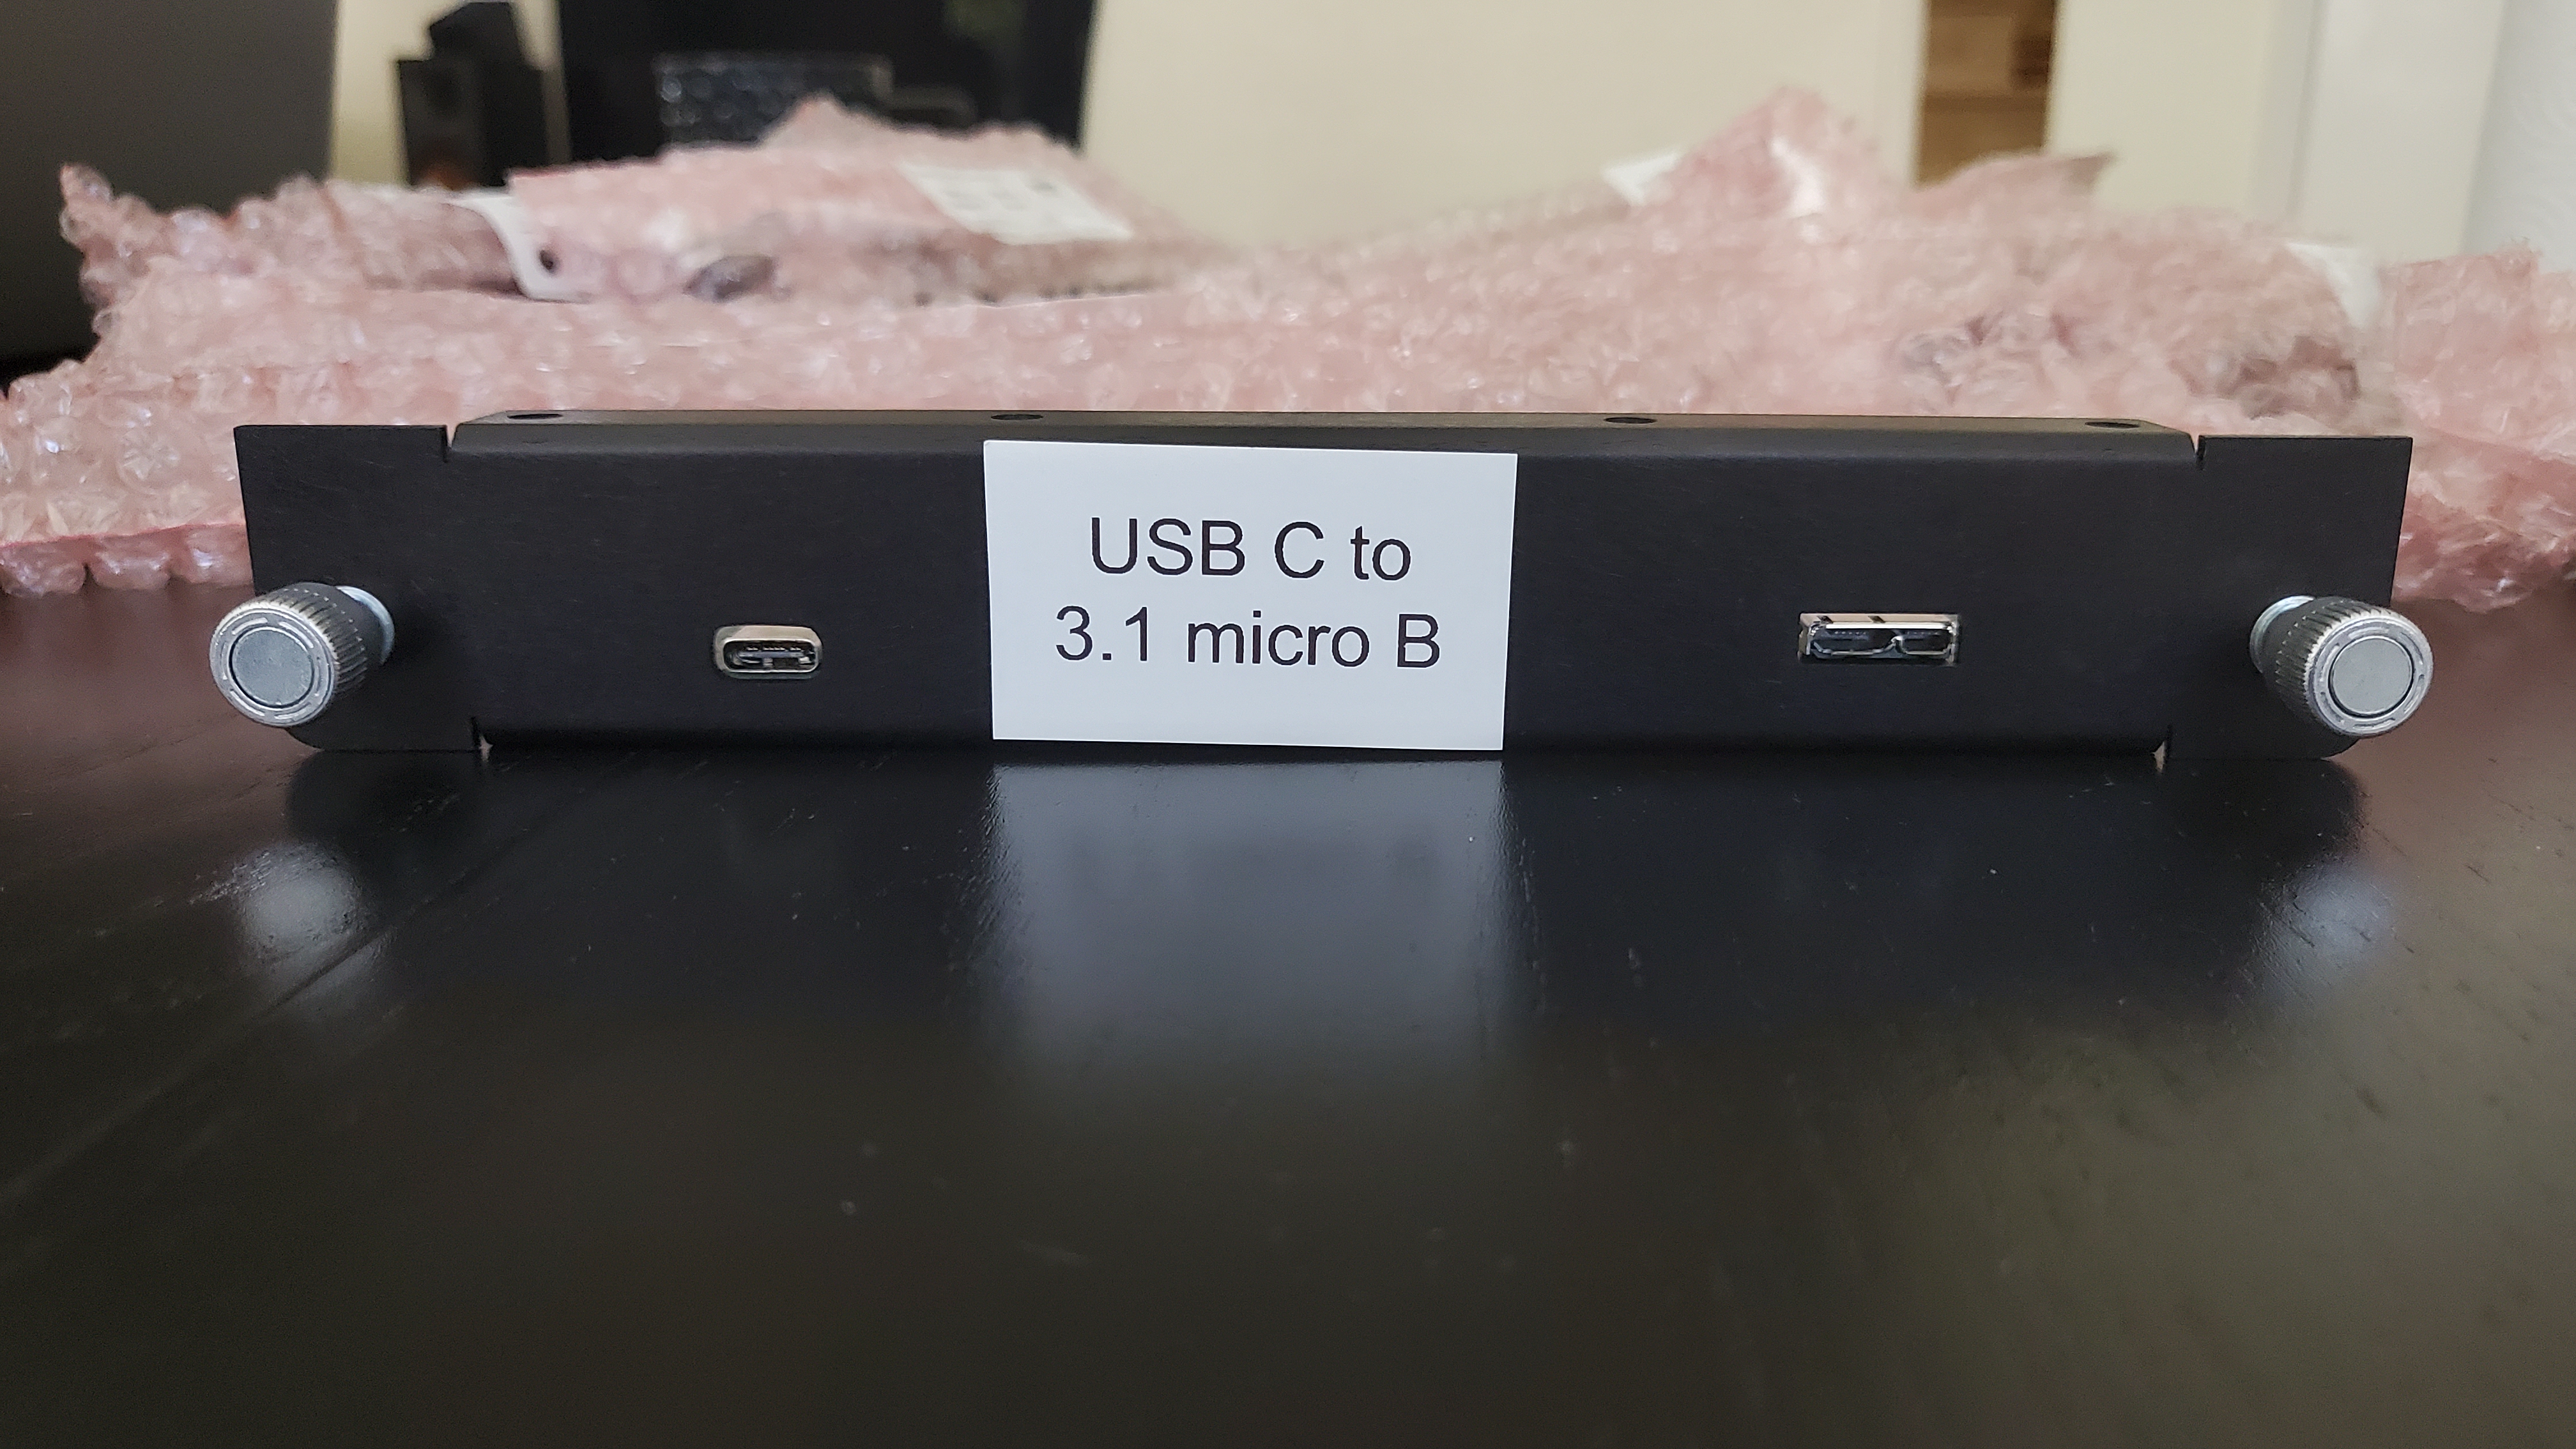 |
| Type C | Micro B | USB Type-C to USB 3.1 Micro-B | |
Step 2: Take some manual measurements
- Length in cm with and without connectors.
- Diameter in mm
- Serial number or Model number written on cable if applicable
Step 3: Test the cable with ACTv2
The cable tester is going to test for cable quality, transfer rate and charging.
- Attach the USB Type-C to USB Type-C module on the cable tester.
- Turn on the cable tester if not already on.
- Go to 192.168.1.50 in a browser.
- Login and Select Auto detect USB C profile.
- Select “Auto-Detect USB Type-C Cable” profile
- Connect the cable and keep the cable untangled and non touching to avoid problems during test.